Yamaha DVD-S557 Bedienungshandbuch
Stöbern Sie online oder laden Sie Bedienungshandbuch nach DVD Spieler Yamaha DVD-S557 herunter. Yamaha DVD-S557 Owner's Manual Benutzerhandbuch
- Seite / 33
- Inhaltsverzeichnis
- FEHLERBEHEBUNG
- LESEZEICHEN
- DVD-S557 1
- Contents 3
- Introduction 4
- Functional Overview 5
- Preparation 7
- Getting Started 10
- Disc Operations 12
- SELECT DIGEST TYPE: 15
- TRACK DIGEST 15
- DISC INTERVAL 15
- TRACK INTERVAL 15
- Setup Menu 19
- ANALOG OUTPUT 21
- DIGITAL AUDIO 21
- CD UPSAMPLING 21
- NIGHT MODE 21
- AUDIO SETUP PAGE 21
- PERSONAL PICTURE SETUP 24
- BRIGHTNESS 24
- CONTRAST 24
- TITLE DIGEST 26
- TITLE INTERVAL 26
- Language Codes 28
- Troubleshooting 30
- Glossary 32
- Specifications 33
Inhaltsverzeichnis
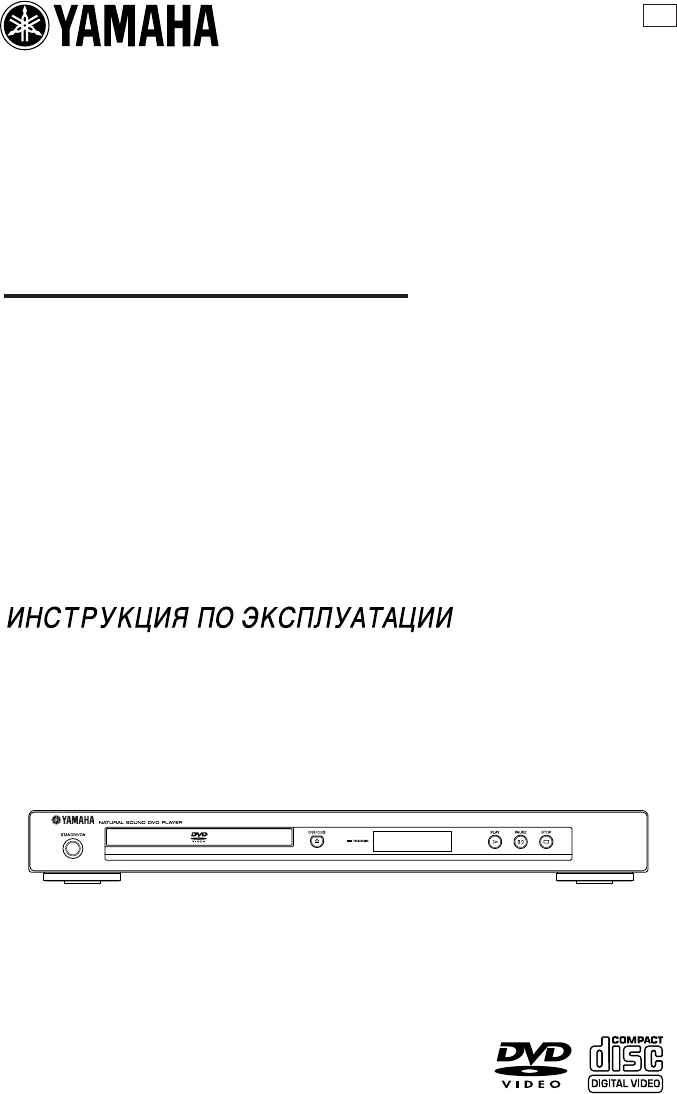
DVD PLAYERLECTEUR DE DVDDVD-S557OWNER’S MANUALMODE D’EMPLOIBEDIENUNGSANLEITUNGBRUKSANVISNINGGEBRUIKSAANWIJZINGGDVD-S557©2005 All rights reserved.YAMAH
8 Getting Started 4 Press 34 to highlight one of the options below: PAL Select this if the connected TV is PAL system. It will change the video sig
9 English Getting Started Setting the Audio, Subtitle and Disc menu language 1 Press STOP ( 9 ) twice, then press SETUP . 2 Press 2 repeatedl
10Disc OperationsIMPORTANT!– If the inhibit icon ( or X) appears on the TV screen when a button is pressed, it means the function is not available on
11EnglishDisc OperationsRepeat and Shuffle• While playing a disc, press REPEAT continuously to choose a ‘Play Mode’.DVD➔ RPT ONE (repeat chapter)➔ RPT
12Disc OperationsOn-Screen Display (OSD)OSD menu shows the disc playback information (for example, title or chapter number, elapsed playing time, audi
13EnglishDisc OperationsPlaying a Title1 Press MENU.➜ The disc title menu appears on the TV screen.2 Use 1 234 or numeric buttons to select a play opt
14Disc OperationsTRACK DIGESTThis function will minimize the picture of every track in order to display every six of these tracks on the screen to hel
15EnglishDisc OperationsSelecting a folder and track/file1 Press 34 to select the folder and press ENTER/OK to open the folder.2 Press 34 to select a
16Disc OperationsZoom picture1 During playback, press ZOOM repeatedly to display the picture with different scales.2 Use 1 234 to view the zoomed pict
17EnglishSetup MenuThe setup is carried out via the TV, enabling you to customize the DVD Player to suit your particular requirements.1 Press SETUP.2
iii CAUTION: READ THIS BEFORE OPERATING YOUR UNIT. 1 To assure the finest performance, please read this manual carefully. Keep it in a safe place for
18Setup Menu4 Use 1 234 to move the cursor to the next position.➜ If the track number is more than ten, press T to open the next page and proceed with
19EnglishSetup Menu3 Use the registration code to purchase or rent the videos from DivX® VOD service at www.divx.com/vod. Follow the instructions and
20Setup Menu48KHzPlayback a disc recorded at the sampling rate of 48kHz. 96kHz (if available on disc) PCM data stream will be converted to 48kHz.96KHz
21EnglishSetup MenuTV TypeThis menu contains the options for selecting the color system that matches the connected TV. For details, see page 7.Setting
22Setup MenuPicture SettingThis DVD Player provides three predefined sets of picture color settings and one personal setting which you can define your
23 English Setup Menu 1 Press STOP ( 9 ) twice to stop playback (if any), then press SETUP . 2 Press 1 2 to select the ‘Preference Setup’ i
24 Setup Menu MP3/JPEG Menu MP3/JPEG Navigator can be set only if the disc is recorded with menu. It allows you to select different display menus for
25 English Setup Menu 10 Use 1 234 to select a title, or use the numeric buttons to input the title number next to [SELECT]. ➜ Press S / T
26Language CodesThese pages can be used to select other languages.This does not affect the options in “AUDIO”, “SUBTITLE” or “DISC MENU”.Abkhazian 656
27EnglishLanguage CodesThese pages can be used to select other languages.This does not affect the options in “AUDIO”, “SUBTITLE” or “DISC MENU”.Maori
1 English Contents Introduction Region Codes...2Supplied accessories...
28TroubleshootingRefer to the chart below when this unit does not function properly. If the problem you are experiencing is not listed below or if the
29EnglishTroubleshootingProblem SolutionThe player does not respond to the Remote Control– Aim the Remote Control directly at the sensor on the front
30GlossaryAnalog: Sound that has not been turned into num-bers. Analog sound varies, while digital sound has specific numerical values. These jacks se
31EnglishSpecificationsPLAYBACK SYSTEMDVD VideoVideo CD & SVCDCDPICTURE CDCD-R, CD-RWDVD+R, DVD+RWDVD-R, DVD-RWVIDEO PERFORMANCEVideo (CVBS) Outpu
2 Introduction Thank you for purchasing this unit. This Owner’s Manual explains the basic operation of this unit.DVD discs must be labeled for ALL re
3 English Functional Overview * Press button for about two seconds. Caution: Do not touch the inner pins of the jacks on the rear panel.Electrostatic
4 Functional Overview * Press and hold button for about two seconds. Remote ControlMENU SETUPENTEROKSTOPANGLEABPAUSEPLAY2354680791TOP MENU RETURNON S
5 English Preparation Never make or change connections with the power switched on.• Depending on the equipment you wish to connect, there are various
6 Preparation If your AV receiver has video output jacks, connect your receiver (and then to your TV) so that you can use one TV for several differen
7 English Getting Started 1 Open the battery compartment. 2 Insert the supplied two batteries type R06 or AA, following the indications (+ –) inside
Weitere Dokumente für DVD Spieler Yamaha DVD-S557

Verwandte Produkte und Handbücher für DVD Spieler Yamaha DVD-S557

 (44 Seiten)
(74 Seiten)
(46 Seiten)
(36 Seiten)
(40 Seiten)
(35 Seiten)
(49 Seiten)
(35 Seiten)
(53 Seiten)
(48 Seiten)
(39 Seiten)
(48 Seiten)
(65 Seiten)
(44 Seiten)
(74 Seiten)
(46 Seiten)
(36 Seiten)
(40 Seiten)
(35 Seiten)
(49 Seiten)
(35 Seiten)
(53 Seiten)
(48 Seiten)
(39 Seiten)
(48 Seiten)
(65 Seiten)

 (160 Seiten)
(56 Seiten)
(43 Seiten)
(40 Seiten)
(160 Seiten)
(56 Seiten)
(43 Seiten)
(40 Seiten)


 (198 Seiten)
(23 Seiten)
(152 Seiten)
(198 Seiten)
(23 Seiten)
(152 Seiten)
© 2020, manymanuals.de. Alle Rechte vorbehalten. | 0.177 s |
 Manymanuals.com
 Manymanuals.de
 Manymanuals.fr
 Manymanuals.it
 Manymanuals.pl
 Manymanuals.cz
 Manymanuals.es
 Manymanuals-pt.com
Kommentare zu diesen Handbüchern