Yamaha P-100 Bedienungshandbuch
Stöbern Sie online oder laden Sie Bedienungshandbuch nach Musikinstrumente Yamaha P-100 herunter. Yamaha P-100 Owner's manual Benutzerhandbuch
- Seite / 69
- Inhaltsverzeichnis
- LESEZEICHEN
- OWNER’S MANUAL 1
- SPECIAL MESSAGE SECTION 3
- IMPORTANT 4
- CONTENTS 6
- PRECAUTIONS 10
- Upper panel 11
- Rear panel 13
- SETTING UP THE P-100 14
- PLAYING THE DEMO SONGS 15
- Selecting a voice 16
- Using the reverb effect 18
- Using the modulation effects 19
- Adjusting the equalization 20
- DUAL MODE 21
- Selecting voices in Dual mode 21
- Adjusting the voice balance 22
- Detuning the voices 23
- SPLIT MODE 24
- Entering Split mode 24
- Changing the split point 26
- ADJUSTING THE KEYBOARD 28
- Tuning the P-100 28
- Selecting a velocity curve 29
- Using the transpose function 30
- Setting the transpose amount 31
- What is MIDI? 34
- Enabling MIDI transmission 38
- MIDI UTILITY MODE SETTINGS 40
- MIDI Utility mode 40
- Transmit and receive channels 41
- Local control 43
- MIDI merge 44
- Bulk protect 45
- Pitch bend range 46
- Modulation wheel 47
- Assignable controllers 48
- Program change transmit table 49
- Program change receive table 51
- Bulk dumps 53
- Memory initialization 54
- SYSTEM APPLICATIONS 55
- ERROR MESSAGES 59
- SPECIFICATIONS 60
- MIDI DATA FORMAT 63
- 1. System Setup bulk dump 64
- <TABLE 1-1 > 65
- 3.2 BULK DUMPS 65
- < TABLE 1-2 > 65
Inhaltsverzeichnis
OWNER’S MANUAL P-100
PRECAUTIONSThe P-100 is a fine musical instrument composed of sensitive mechanisms and delicate digital circuitry. To ensure along lifetime of reliabl
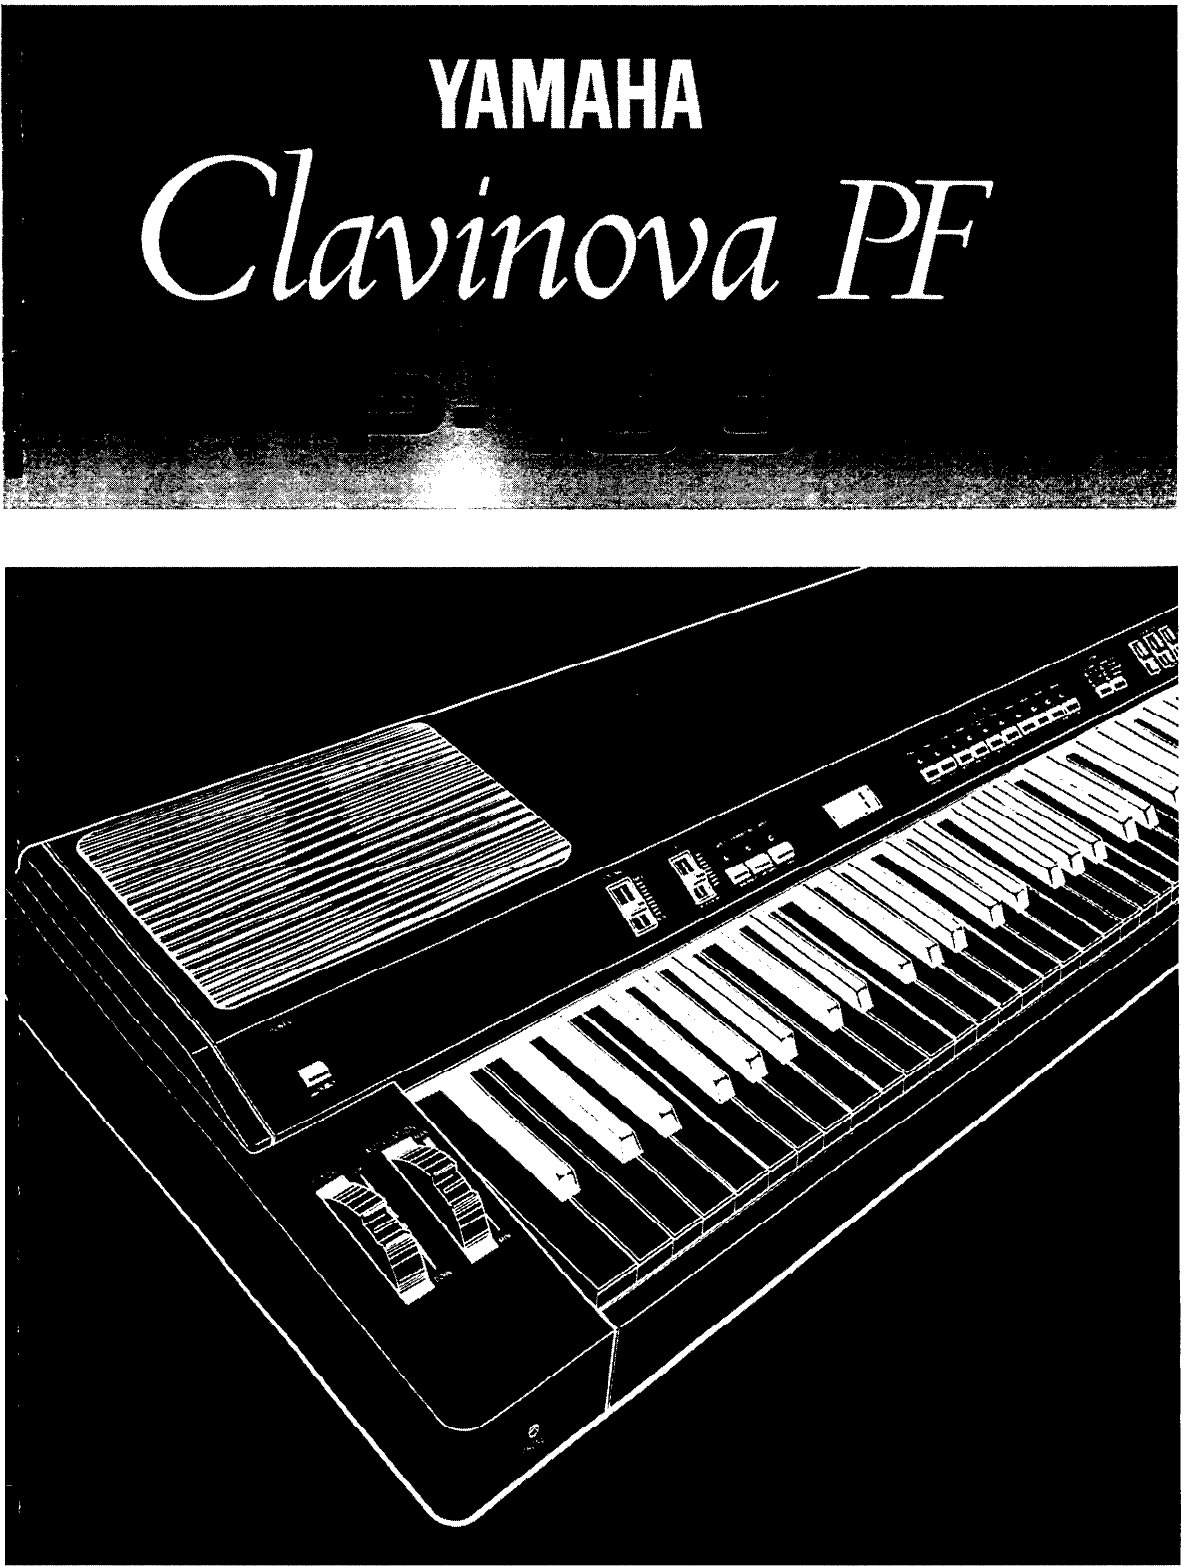
INTRODUCING THE P-100Upper panel[POWER] switch[TRANSPOSE (DETUNE)] buttonThis switch turns the P-100’s power supply on andoff. When the power is turne
[REVERB (-1)] buttonThis button is used to change the reverb type anddepth. It is also used to lower Utility mode andtranspose function settings one s
Rear panelSPEAKER switchThis switch lets you turn off the internal speakersmounted on the upper panel. It does not affectthe output from the LINE OUT
SETTING UP THE P-100To prepare the P-100 for playing, follow the steps below to set it up and connect any peripheral equipment.1.Plug in the power cor
PLAYING THE DEMO SONGSYour P-100 is programmed with two songs that demonstrate the instrument’s capabilities. You might want to tryplaying these songs
PLAYING THE P-100Selecting a voiceOnce you’ve set up the P-100 and adjusted the volume level, you’re ready to start making music. The standard modefor
Voice polyphonyAs the table above shows, the P-100 produces 32 notes of polyphonic sound for seven of itsvoices. For convenience, we will refer to the
Using the reverb effectReverb adds warmth to sounds by creating the impression of an acoustic environment. The P-100 lets you select one ofthree diffe
Using the modulation effectsIn addition to the reverb effect, the P-100 lets you apply one of three different modulation effects to its voices.CHORUS
FCC INFORMATION (U.S.A.)1.IMPORTANT NOTICE: DO NOT MODIFY THIS UNIT!This product, when installed as indicated in the instructions contained in this ma
Adjusting the equalizationThe P-100’s equalizer works much like the three-band graphic equalizers found on many portable stereo sets. It allowsyou to
DUAL MODESelecting voices in Dual modeIn Dual mode, the P-100 sounds two of its voices in response to every note you play. Playing the P-100 in Dual m
Adjusting the voice balanceThe P-100’s Dual mode is a useful feature. However, you may not always want to give the two voices equal emphasis.When play
Detuning the voicesThe voice detune setting allows you to detune two voices slightly with respect to one another when playing them inDual mode. This i
SPLIT MODEEntering Split modeThe P-100’s Split mode, like its Dual mode, lets you play two voices at once. In this mode. however. the two voicesare pl
Selecting voices in Split modeWhen you press the [SPLIT] button to enter Split mode, the voice you were playing in Single mode (or the main voice,if y
Changing the split pointBy adjusting the location of the split point, you can adjust the note ranges of the main and sub keyboard areas to suitthe par
To return the main voice to the area above the split point, thesecond key you press should be above rather than below the splitpoint. The dot in the d
ADJUSTING THE KEYBOARDTuning the P-100Electronic pianos have one advantage over their acoustic counterparts: they are much easier to tune. You can fin
Selecting a velocity curveAlthough the P-100’s keyboard feels like an acoustic piano keyboard, it works on quite different principles. Since theP-100
SPECIAL MESSAGE SECTIONPRODUCT SAFETY MARKINGS: Yamaha electronicproducts may have either labels similar to the graphicsshown below or molded/stamped
Using the transpose functionThe P-100 has a transpose function which makes transposing between keys easy. To use this function, you may want tofirst s
Setting the transpose amountThe P-100’s default main voice transpose setting is 12. This means the P-100 will transpose the notes you play up anoctave
Transposing in Dual and Split modesTransposing is a little more complex in Dual and Split modes than it is in Single mode, because the P-100 allows yo
Why transpose the sub voice?This function may not seem very necessary at first glance. After all, transposing one voice upor down a few semitones whil
MIDI KEYBOARD CONTROL FUNCTIONSWhat is MIDI?MIDI is an acronym for Musical Instrument Digital Interface. This is the name of an international standard
TerminalsBefore we jump into a detailed description of theP-100’s MIDI configuration, we should consider thehardware used to communicate MIDI data. MI
The P-100’s MIDI configurationNow that we have gone over the basic concepts involved, you might be interested to take a look at the way the P-100uses
SPLIT MODEThe situation becomes more complex in Split mode. Since the two timbres play independently rather than in unison,two MIDI channels are neede
Enabling MIDI transmissionWe described in the previous section how the P-100 normally transmits channel voice messages for the notes you playon the ke
Using the MIDI transpose functionIn addition to the transpose settings for the two voices produced by its internal tone generator, the P-100 lets youa
IMPORTANTSAFETY AND INSTALLATION INSTRUCTIONSINFORMATION RELATING TO POSSIBLE PERSONAL INJURY, ELECTRIC SHOCK, ANDFIRE HAZARD POSSIBILITIES HAS BEEN I
MIDI UTILITY MODE SETTINGSMIDI Utility modeIn addition to its Single, Dual, Split, and Demo Play modes, the P-100 has a MIDI Utility mode which allows
Transmit and receive channelsThis is actually a group of three settings. In addition to the MIDI transmit and receive channels described on page 25,th
Each of these channel settings can be set to any one of the 16MIDI channels, or they can be turned off, in which case dasheswill be displayed. The two
Local controlThis setting allows you to disconnect the P-100’s keyboard from its internal tone generator. It is usually turned on sothat the P-100 wil
MIDI mergeWhen the MIDI merge function is turned on, any MIDI data received at the MIDI IN terminal will be echoed throughthe MIDI OUT terminal togeth
Bulk protectThe bulk protect function protects the P-100’s internal settings against incoming system exclusive messages.When this function is turned o
Pitch bend rangeThis setting lets you specify how far the pitch of sounds produced by the P-100 will bend when you roll the [PITCH]wheel all the way i
Modulation wheelThe modulation wheel setting lets you turn off the vibrato produced by the [MODULATION] wheel. The setting youmake here applies only t
Assignable controllersYou can assign one of a number of MIDI functions to the P-100’s [CS] slider for realtime control during performances.You can use
Program change transmit tableYour P-100 generally transmits a program change message each time you press a [VOICE/UTILITY] button to select avoice. Th
THANK YOU! ... for purchasing the Yamaha Clavinova PF Series P-100. The P-100 is a high-performanceelectronic piano with ten voices and a host of func
You can also press the selected [VOICE/UTILITY] button toturn the program change transmit function on or off for thatbutton. When you turn the functio
Program change receive tableThe P-100 is also capable of changing its current voice selection in response to program change messages it receivesfrom e
4.Exit MIDI Utility mode.Press the [MIDI] button to exit MIDI Utility mode. (If youwish, you can return to step 2 to change other settings beforeyou l
SPECIAL OPERATIONSBulk dumpsThe preceding chapters have shown you how much performance flexibility the P-100 has to offer. But this flexibilitycomes w
Memory initializationAfter you’ve been using the P-100 for a while, you may find yourself wishing that you could erase all your settingsand start agai
SYSTEM APPLICATIONSUsing the P-100 with a tone generatorYou can use the P-100’s keyboard and MIDI control functions to control tone generators such as
Using the P-100 with another MIDI keyboardYamaha’s SY99 synthesizer incorporates a multitimbral tone generator similar to the TG77. It can therefore b
Using the P-100 with an extended MIDI systemThanks to the great variety of MIDI devices now available, extended MIDI systems come in such a variety of
Using the P-100 with a MIDI data recorderIf you perform on stage and want to make the most of the P-100’s versatility, you will probably find a device
ERROR MESSAGESWhenever a problem occurs, the P-100 will display an error message to alert you to the nature of the trouble.The meanings of the error m
CONTENTSPRECAUTIONS...1INTRODUCING THEP-100...2Upper panel...
SPECIFICATIONSKeyboard:Tone Generator:Built-in DSP Effects:Pitch control range:Controls:Indicators:Connectors:output:88-key (A-1 to C7) Action Effect,
INDEX–1 button 3+l button 3AAfter-touch, assignable controllers 39, messages 25Assignable controllers 39BBalance, assignable controllers 39, Dual mode
Upper panel2Utility mode 31Vibrato 38Protect, bulk protect setting 36, during dumps 44,error message 50RRear panel 4Reception, bulkdumps44,channelsuse
MIDI DATA FORMAT1. Midi Transmission/Reception Block Diagrams1.1 Reception Flow Diagram2. Channel Messages2.1 Transmission2.1.1Note On/OffTransmitted
2.2.5 PROGRAM CHANGEProgram change messages received on the program change receive chan-nel select a P-100 main voice as specified by the program chan
<TABLE 1-1 >MIDI PARAMETER CHANGE TABLE (SYSTEM SETUP)$F0, $43, $1n, $2A, $00, $00, $00, N2, $00, V2, $F7Notes) n= device number (i.e., transmit
<TABLE l-3 ><TABLE 2-2 >MIDI PARAMETER CHANGE TABLEMIDI BULK DUMP FORMAT(PROGRAM CHANGE RECEIVE TABLE)(PROGRAM CHANGE TRANSMIT TABLE)$F0,
YAMAHA [ Electronic Piano P-100] Date:17-APR-1992Model P-100 MIDI Implementation ChartVersion : 1.0Transmitted Recognized RemarksFunction ...Basic Def
For details of products, please contact your nearest Yamaha orthe authorized distributor listed below.Pour plus de détails sur les produits, veuillez-
Clavinova PF P-100 Operation Guide
Clavinova PF P-100 Operation Guide
PLAYING THE DEMO SONGSPLAYING THE P-100DUAL MODESPLIT MODEADJUSTING THE KEYBOARDMIDI KEYBOARD CONTROL FUNCTIONSMIDI UTILITY MODE SETTINGSSPECIAL OPERA
Weitere Dokumente für Musikinstrumente Yamaha P-100

Verwandte Produkte und Handbücher für Musikinstrumente Yamaha P-100
 (42 Seiten)


 (92 Seiten)
 (88 Seiten) (28 Seiten)
(143 Seiten)
(88 Seiten) (28 Seiten)
(143 Seiten)
 (64 Seiten)
 (60 Seiten) (105 Seiten)
 (28 Seiten)
 (80 Seiten)
(220 Seiten)
(80 Seiten)
(220 Seiten)
© 2020, manymanuals.de. Alle Rechte vorbehalten. | 0.359 s |
 Manymanuals.com
 Manymanuals.de
 Manymanuals.fr
 Manymanuals.it
 Manymanuals.pl
 Manymanuals.cz
 Manymanuals.es
 Manymanuals-pt.com
Kommentare zu diesen Handbüchern